
.net

| Terms of service | ||||
|
Brokking |
.net |
Let's keep it simple |
|
|
|
Project building an electric skateboardIt's done before. And it doesn't look difficult. So why make another project page about building an electric skateboard? For me it's not about the speed. It's all about the technology. Trying something new and make it safe and reliable.  Click to see the full image Click to see the full image
I will begin with defining some of the characteristics: I already had a concept idea in my head for weeks. So I knew that the problem wasn't the conversion of the skateboard, it would be the remote. It has to be safe, small enough to fit in my pocket, comfortable to hold and it needs to display the battery status of the skateboard. This means bi-directional communication. Download the schematics and Arduino programs here:
Enclosure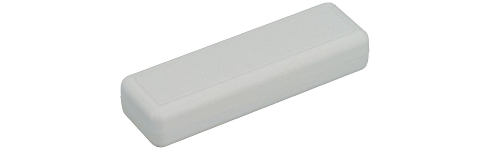 Click to see the full image Click to see the full image
Funduino pro mini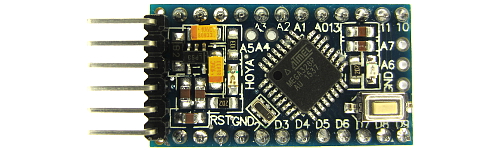 Click to see the full image Click to see the full image
5V step up booster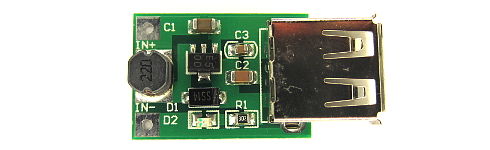 Click to see the full image Click to see the full image
HC-05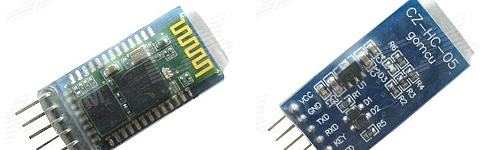 Click to see the full image Click to see the full image
ACS712 20A Current Sensor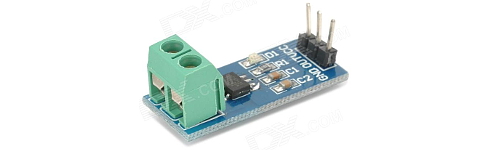 Click to see the full image Click to see the full image
And some other parts like a power switch, 330Ω resistors, 10k potentiometer, LED's, AA-battery, etc. And with all the parts on my desk it's time to fit everything in the enclosure. Now that the remote is finished it's time to rebuild the skateboard. The parts that I used for the drive train are: Small pulley - 15 teeth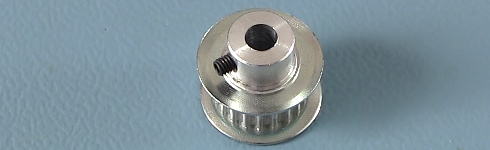 Click to see the full image Click to see the full image
Large pulley - 60 teeth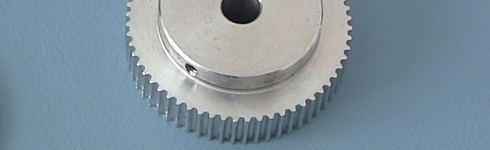 Click to see the full image Click to see the full image
Toothed drive belt 98 teeth Click to see the full image Click to see the full image
DC motor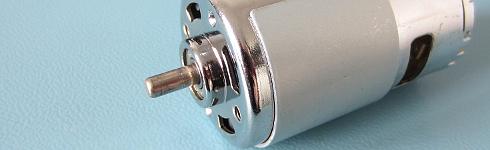 Click to see the full image Click to see the full image
Because the pulley is smaller than the wheel I needed to make an adapter ring. This is made out of 2mm carbon fiber. With the adapter ring in place I can now drill the holes in the pulley. To make sure that the pulley was aligned with the wheel I made an 8mm axis that fit the wheel bearings and the pulley. I'm pretty convinced that four threaded rods are stiff enough to hold the pulley in place. And with the toothed pulleys installed it is time to work on the motor mount. There are several ways to do this but I have chosen the most ridicules method ever...... glue. I made the motor mount of 12mm plywood. By doubling the total thickness is 24mm. And it's holding pretty well. And with all the parts in place it is time to test the board.
|
 longboard.zip